Install the FME Server Core and FME Engines
Perform the following on both the primary and failover machines of your Active-Passive Architecture:
- Start the FME Server Installer.
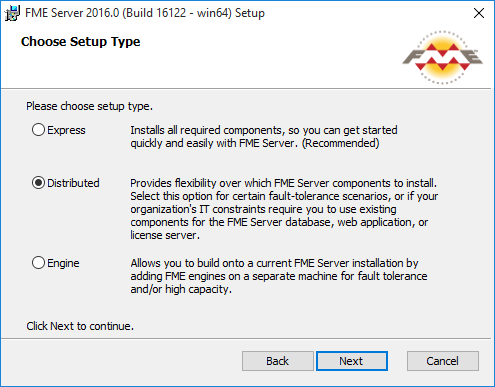
- On the Choose Setup Type dialog, select the Distributed install option.
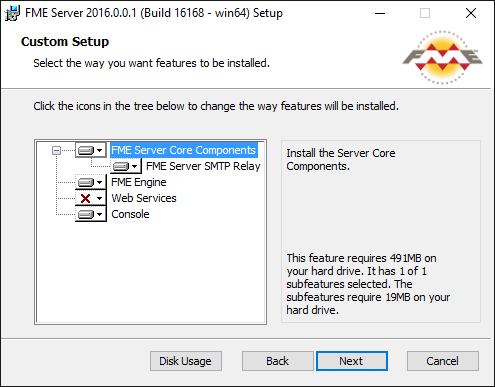
- On the Custom Setup dialog, select FME Server Core Components and FME Engine. Unselect Web Services.
- On the Destination Folder dialog, specify the installation directory for FME Server.
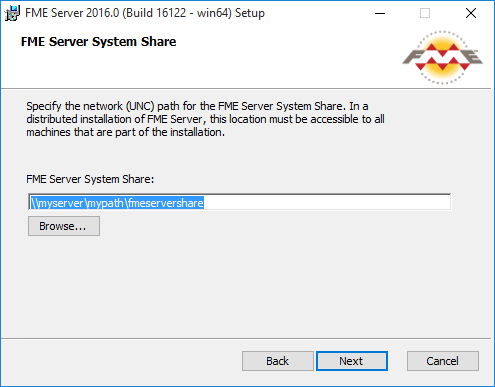
- On the FME Server System Share dialog, specify a directory on another machine to store FME Server System Share files, which include Repositories and Resources. If this is a Linux installation, specify the mounted directory. For more information, see Provide a Remote File System.
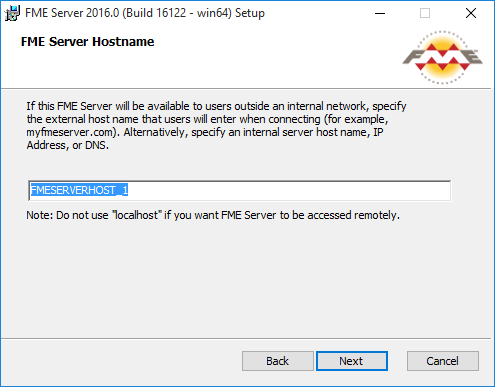
- On the FME Server Hostname dialog, specify the host that will run the FME Server Core.
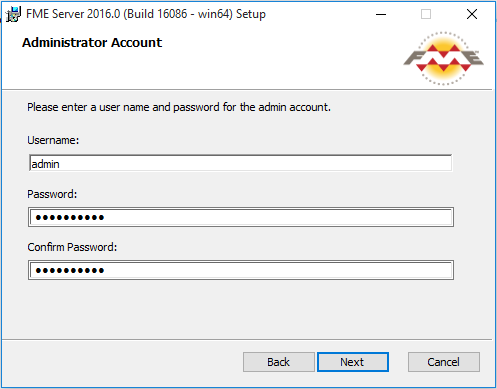
- On the Administrator Account dialog, enter a user name and password for the admin account. This account provides full access to FME Server, and is the starting point for configuring other user accounts following installation.
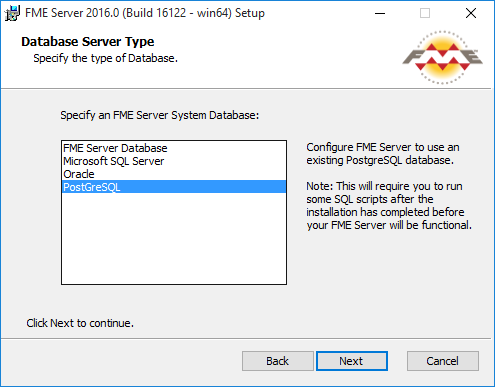
- On the Database Server Type dialog, specify the type of database for the FME Server Database. For more information, see Provide a Database Server.
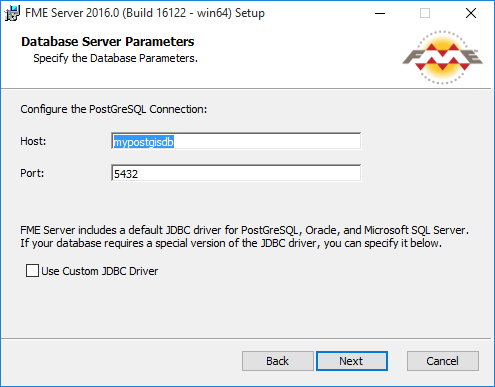
- On the Database Server Parameters dialog, specify the connection parameters for the FME Server Database.
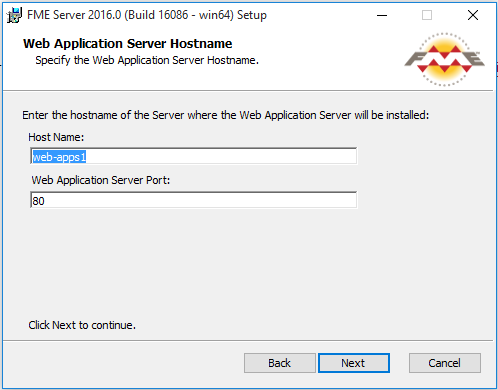
- On the Web Application Server Hostname dialog, specify the connection parameters for the web application server. For more information, see Provide a Web Application Server.
- Follow the remaining dialogs to complete the installation.
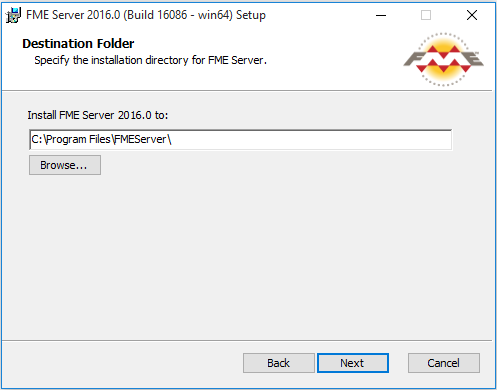
Note: If you are upgrading to a newer version of FME Server, make sure the specified directory is empty of files from the previous installation. Otherwise, conflicts may occur that can produce unexpected results in performance.
Note: You will enter different host names to specify either the primary or failover host. On all other dialogs, your entries will be the same between the primary and failover installations.