Marking a Location in a View
You can add a location markers to any 2D view in the following ways:
- Using the location of the mouse cursor in the view.
- Selecting the coordinates of a feature in the Feature Information window.
- Entering an exact location, in coordinates.
You can customize the appearance of a location marker, and even add a buffer around it.
Using the mouse cursor
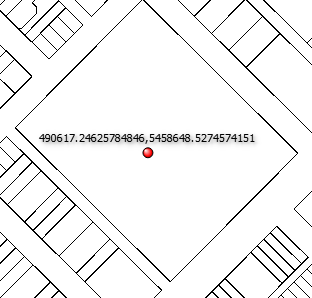
To mark a location using the mouse cursor, point the cursor to the desired location in the View window, right-click, and select Mark Location. A location marker appears, along with a label displaying the x,y coordinates.
Selecting a feature
To mark a location of a feature, click on one of its coordinates in the geometry section of the Feature Information window.

The location remains marked until you click somewhere else in the Feature Information window, or un-select the feature.
To persist the marker, right-click on the coordinates and select Mark Location.
Entering coordinates
To mark a location by entering its coordinates, click the Mark Location icon .png) in the Toolbar. In the Mark Location dialog, enter the coordinates of the location you want to mark. Adjust any other parameters of the location marker as desired, including coordinate system, color, buffer, label, and symbol. Click OK.
in the Toolbar. In the Mark Location dialog, enter the coordinates of the location you want to mark. Adjust any other parameters of the location marker as desired, including coordinate system, color, buffer, label, and symbol. Click OK.
Working with Location Markers
Data Inspector persists only the most-recent marker that is created using Mark Location or the toolbar icon. If you open another view, or exit and re-open Data Inspector, the marker is still available.
To view or edit a location marker
click the Mark Location icon to open the Mark Location dialog. Adjust the parameters of the location marker as desired, including coordinate system, color, buffer, label, and symbol. Click OK.
Specifying a coordinate system
If a coordinate system is not specified in the Mark Location dialog, Data Inspector uses the coordinate system of the view. If the view consists of multiple coordinate systems, Data Inspector randomly picks one.
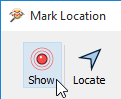
To hide a location marker in the view
In the Mark Location dialog, toggle the Show button to hide or show the location marker in the view, and click OK.
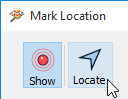
To zoom to a location marker in the view
In the Mark Location dialog, click the Locate button.