Annotations are useful for documenting the purpose of a feature type, connection, or transformer, especially in a large or complex workspace.
Annotation is a key method for a good workspace design. Annotation helps other users understand the purpose and workflow of the translation, and also helps the original workspace author remember key information.
There are a few annotation types to choose from.
Default Annotation
To disable the default feature, select Tools > FME Options, and click the Workbench icon. Under Annotation Defaults, uncheck Automatically generate header annotations.
Summary Annotation
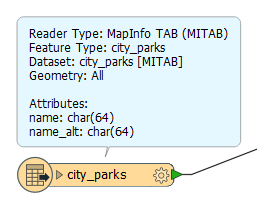
A summary annotation is an FME-generated comment that provides information about any object in the workspace. This item can be a reader or writer feature type, or a transformer. Summary annotations automatically update if its attached object is changed. Summary annotations are useful for wizard-based transformers where checking transformer parameters can be time-consuming.
To create summary annotation for an object, right-click it and select Show Summary Annotation.
A summary annotation is always colored blue to distinguish it from other annotations. It is always connected to the item to which it relates and cannot be detached.
Custom Annotation
You can add comments anywhere in the workspace: you can attach annotations to objects, or you can create stand-alone comments.
Click Insert > Annotation on the toolbar, or right-click on the canvas and select Insert Annotation  .
.
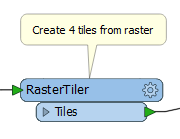
To attach an annotation to an object in the Workspace (feature type or transformer), select the object, right-click and select Add Annotation.
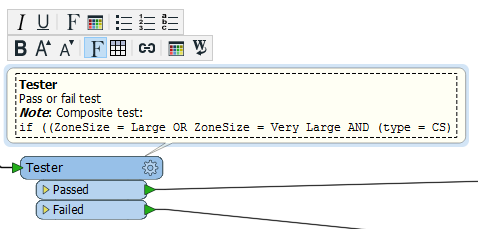
When you create or edit an annotation, you can use the buttons on the mini-toolbar to customize it with rich-text features, including:
- Formatting text and adding lists.
- Adding tables and inserting/removing rows/columns.
- Inserting hyperlinks.
Annotation Options
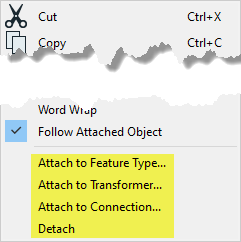
Right-click on any annotation and view command menu options.
To toggle the workspace display to show or hide annotations, right-click on the canvas and select View Annotations.
Attaching, Detaching, or Moving Annotations
Select the annotation, then right-click to attach the annotation to any object or connection in the workspace. If the annotation is already attached, the Attach options will move the annotation. Additionally, a Detach option is available.
Attaching Default Annotations to Multiple Objects and Connections
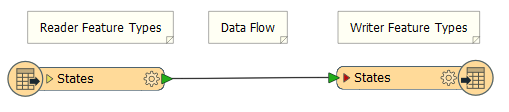
The default annotation includes the name of the object (transformer, feature type, etc.).
For connections, the default name reflects both the input and output information. For example, if you select a transformer connection, the name will reflect the input to the transformer, and the output from the transformer (PenColorSetter > AttributeCreator).
- Select multiple objects or connections.
- Right click and select Attach Annotation.
Annotations are added to the selected objects and connections. Objects will show the object name as default string, and connections will show <source> to <destination> as the default string.
Note: Right-click on an annotation and select Follow Attached Object. You can move an object anywhere on the workspace and the annotation will move with it. If you uncheck this option (select it again to toggle it on and off), a leader line will stretch to follow an object, but the comment will remain in its original location.
Note: By default, annotations appear in front of the display and can overlay other parts of the workspace. To move annotations to the back of the display, right-click on an annotation and select Send to Back. This also works for feature types and transformers.