The easiest way to create a custom transformer is from an existing workspace, and by choosing transformers that you are often reusing, or transformers that take up a lot of space on the canvas.

Creating Category Names: In the Category field, you can choose an existing category in which to store the transformer; however, you can also enter your own category name. The category will be added to the Transformer Gallery. Note that you will have to restart Workbench to see the new category.
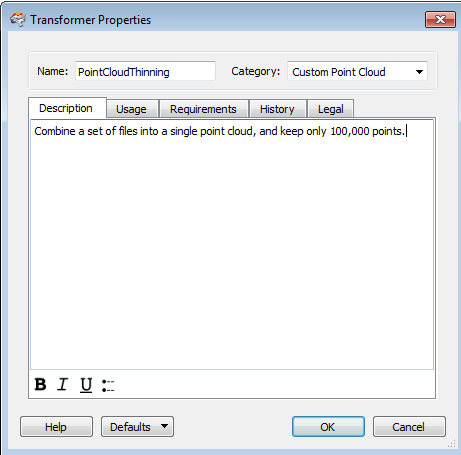
You can also enter other optional information, including a description. This information is the same as Workspace Properties.

Creating Category Names: In the Category field, you can choose an existing category in which to store the transformer; however, you can also enter your own category name. The category will be added to the Transformer Gallery. Note that you will have to restart Workbench to see the new category.

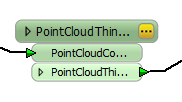
The input and output (if included) arrows are for reference only, to reflect the input/output to the custom transformer in the main workspace.

Note: You cannot include any reader or writer feature types in a custom transformer.
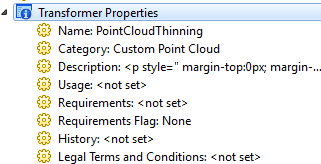
The Navigator includes details about custom transformers: it lists the transformers (and their attributes) that are part of the custom transformer, and its own parameters are included under a Transformer Properties icon. See Workspace Properties for more information.

In the main workspace, the custom transformers are listed in the Navigator (much like any other transformer), except they appear as green icons:
![]()
Custom Transformers can be defined in two forms: embedded and linked.
Embedded is the default state of a Custom Transformer. This means that the transformer is stored as part of this workspace, and is, therefore, not otherwise available to other users.
A linked transformer is one whose definition is saved as an external file. Each reference to the transformer from a workspace is a link to that definition and if the definition changes, then so does the workspace behavior. Exporting transformers is the way to share them with other users.
You can export an embedded transformer to a file by clicking File > Export as Custom Transformer on the menu bar. You can embed a linked transformer by right-clicking the transformer and selecting Embed.
After you have created a custom transformer, you can: