Install the FME Server Core and FME Engines
Perform the following on both the primary and failover machines of your Active-Passive Architecture:
- Start the FME Server Installer.
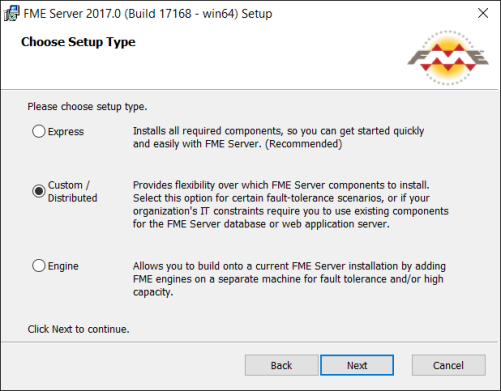
- On the Choose Setup Type dialog, select the Custom/Distributed install option.
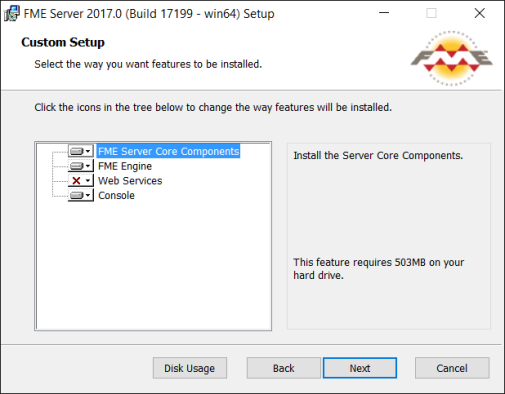
- On the Custom Setup dialog, select FME Server Core Components and FME Engine. Unselect Web Services. (Optionally, select Console. For more information, see FME Server Console.)
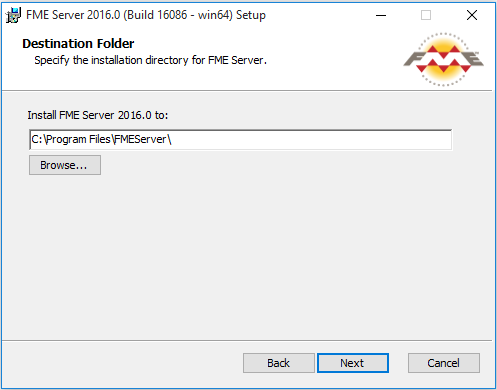
- On the Destination Folder dialog, specify the installation directory for FME Server.
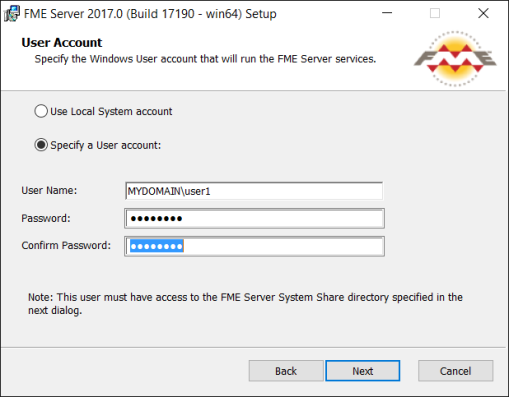
- On the User Account page, specify the Windows user account that will run the FME Server System Services. This account must have access to the FME Server System Share that you specify in the next dialog. The System Share is the location where FME Server stores Repositories and Resources files. (For more information, see Provide a Remote File System for the FME Server System Share.)
- On the FME Server System Share dialog, specify the remote directory that will store FME Server System Share files, which include Repositories and Resources. If this is a Linux installation, specify the mounted directory. For more information, see Provide a Remote File System for the FME Server System Share.
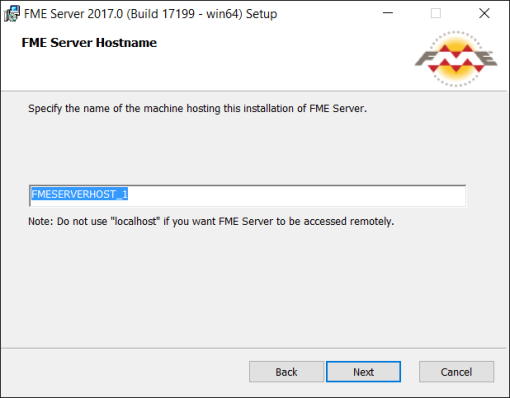
- On the FME Server Hostname dialog, specify the host that will run the FME Server Core.
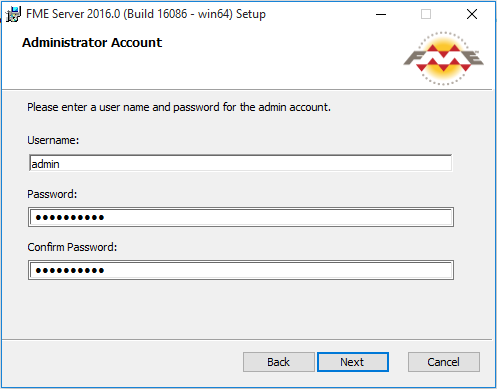
- On the Administrator Account dialog, enter a user name and password for the admin account. This account provides full access to FME Server, and is the starting point for configuring other user accounts following installation. For more information, see Default User Accounts and Passwords.
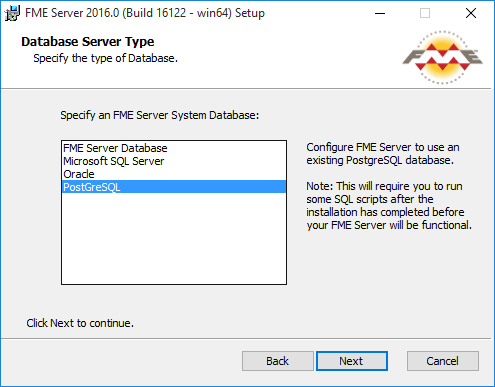
- On the Database Server Type dialog, specify the type of database for the FME Server Database. For more information, see Provide a Database Server.
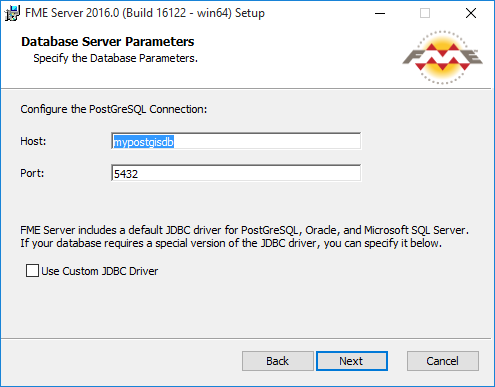
- On the Database Server Parameters dialog, specify the connection parameters for the FME Server Database.
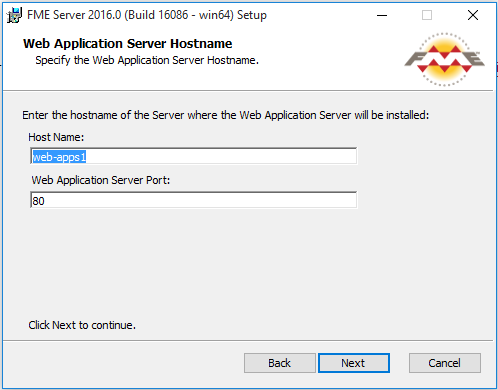
- On the Web Application Server Hostname dialog, specify the connection parameters for the web application server. For more information, see Provide a Web Application Server.
- Follow the remaining dialogs to complete the installation.
Note: The FME Server Database service always runs under the local system account.
Note: If you are upgrading to a newer version of FME Server, make sure the specified directory is empty of files from the previous installation. Otherwise, conflicts may occur that can produce unexpected results in performance.

Note: You will enter different host names to specify either the primary or failover host. On all other dialogs, your entries will be the same between the primary and failover installations.