Saving a Workspace as a Template
Open a workspace and select File > Save As Template. The Save as Template dialog opens.
To connect and publish the template to an FME Server, check Publish to Server. Note that you must have an FME Server configured on your system.
Select or type a Category in which to store the template. If you have not previously saved a template, the Category field pull-down list will not display any selections.
Enter a Description for the template, if desired. Alternatively, check Use Extended Description to enter a longer description and use formatting tools.
The tabbed areas of the Extended Description option allow you to catalog information applicable to the current workspace. For a description of the information to include in these areas, and how the information is displayed in a workspace, see Workspace Properties.
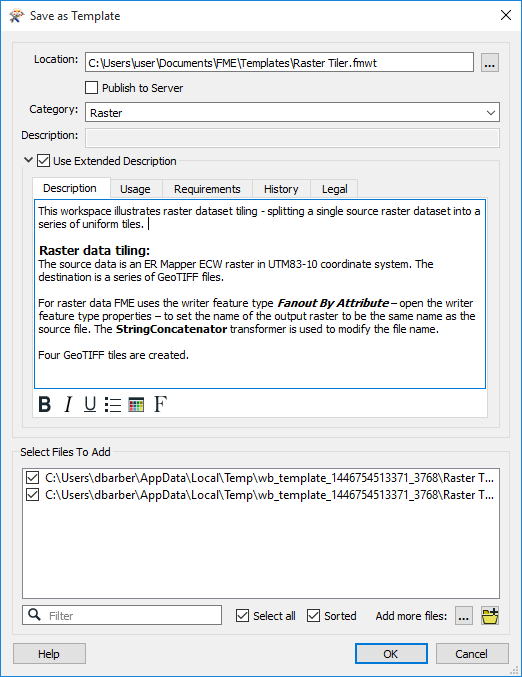
Under Select Files to Add, any associated datasets are listed in the Select files to add area. The default is to include the dataset as part of the template. You can also choose to include any other associated datasets or additional files.
Click OK to save the template and close the dialog.