Install the FME Servers
Perform the following installation on all machines you have allocated for your fault tolerant architecture.
Start the FME Server Installer.
(Windows only) Installation Extractor
On the Installation Extractor dialog, specify a Destination folder in which to extract installation files. Note that this folder only specifies where installation files are extracted—it does not specify where FME Server program files are installed. That location is specified later in the installer.
- Review the installation .log file.
- Remove these files. Doing so saves almost 2 GB disk space.
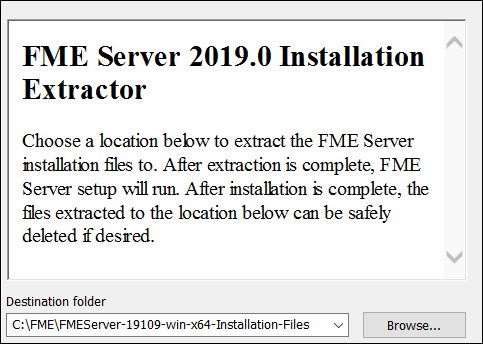
Click Install.
When extraction is complete, the installer opens. Proceed through the installer to the Choose Setup Type dialog.
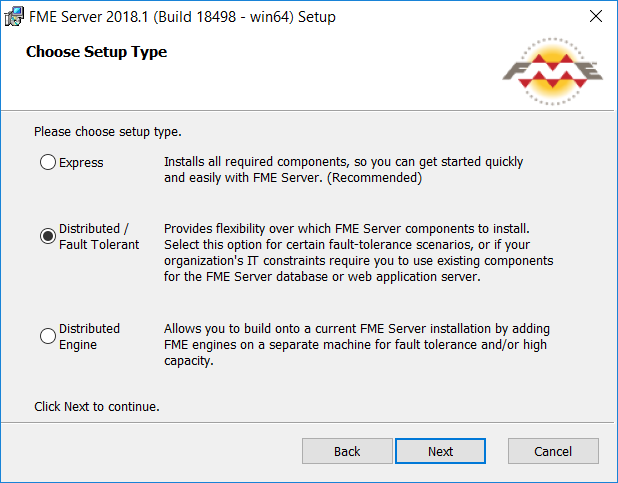
Choose Setup Type
Select the Distributed/Fault Tolerant install option.
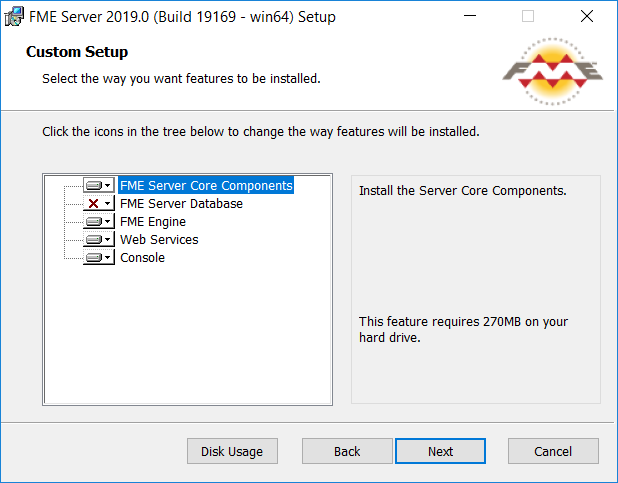
Custom Setup
Select FME Server Core Components, FME Engine, and Web Services. (Optionally, select Console. For more information, see FME Server Console.)
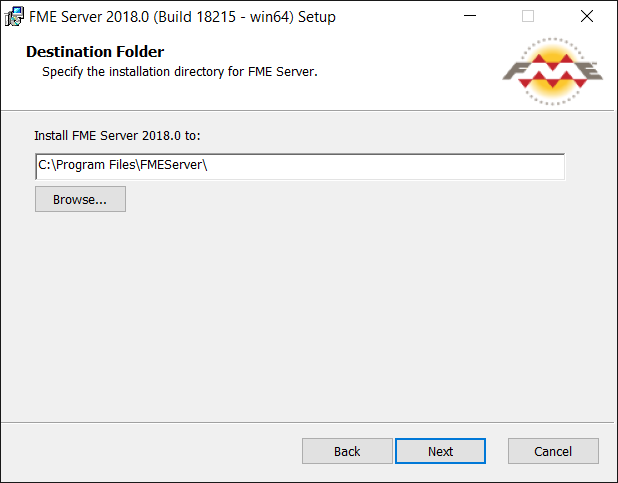
Destination Folder
Specify the installation directory for FME Server.
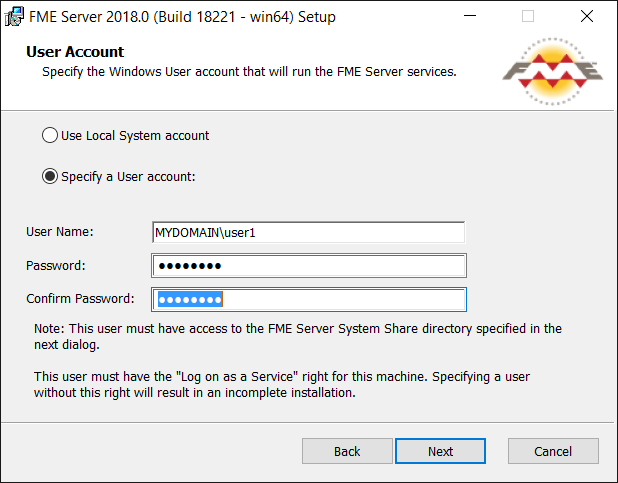
User Account
Specify the Windows user account that will run the FME Server System Services. This account must have:
- Read/Write access to the FME Server System Share that you specify in the next dialog. The System Share is the location where FME Server stores Repositories and Resources files. It must be accessible by all machines that comprise the FME Server deployment. (For more information, see Provide a Remote File System for the FME Server System Share.)
- Read/Write access to the FME Server installation directory that you specified in the previous dialog.
- "Log on as a service" rights on this machine. For more information, see this Microsoft Docs article.
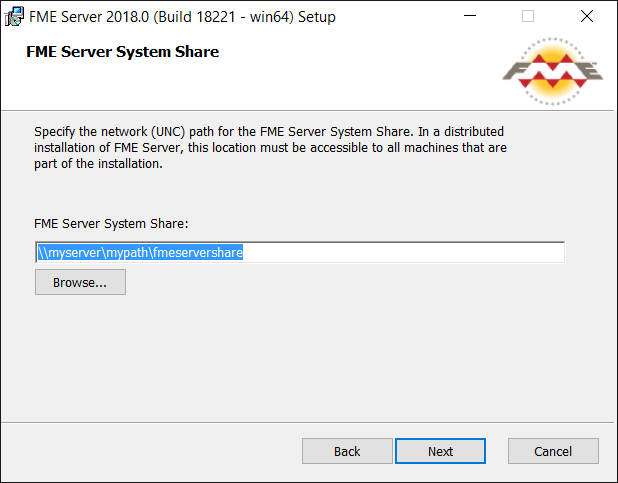
FME Server System Share
Specify a shared directory visible to all machines that make up the FME Server. This directory stores FME Server System Share files, which include Repositories and Resources. If this is a Linux installation, specify the mounted directory. For more information, see Provide a Remote File System for the FME Server System Share.
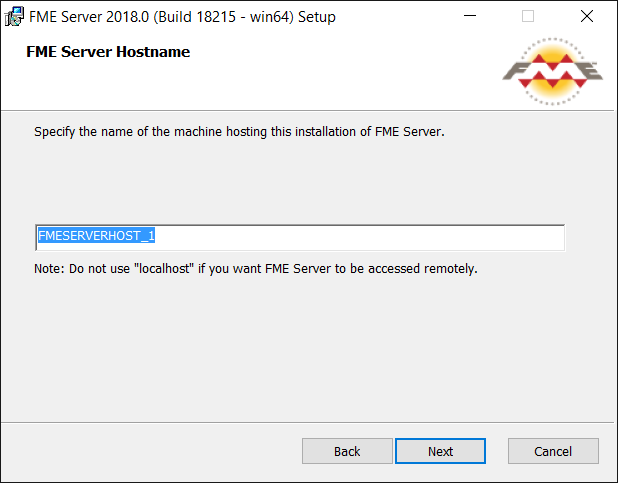
FME Server Hostname
Specify the name of the machine hosting this installation of FME Server.
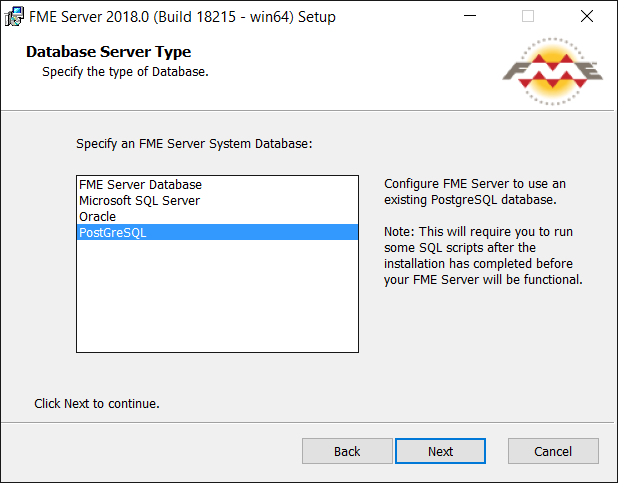
Database Server Type
Specify the type of database for the FME Server Database. For more information, see Provide a Database Server.
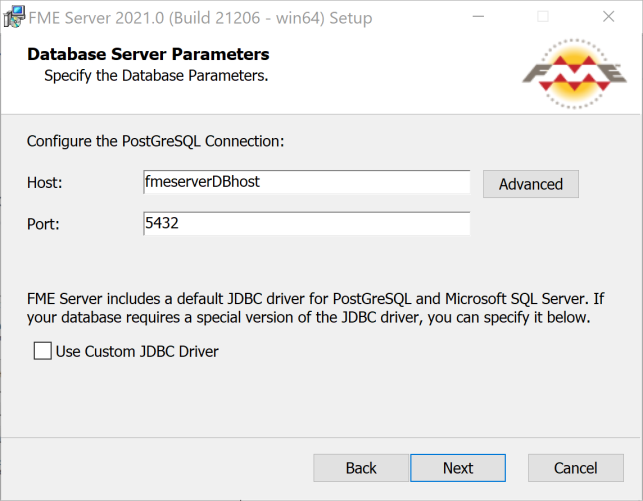
Database Server Parameters
Specify the connection parameters for the FME Server Database. Optionally, to customize further the connection parameters in the JDBC connection string, click Advanced.
- If Microsoft SQL Server was specified in the previous dialog, check Use SQL Server instance name to use that value instead of Port.
- If Oracle was specified in the previous dialog, you must check Use Custom JDBC Driver and specify the JDBC Driver.
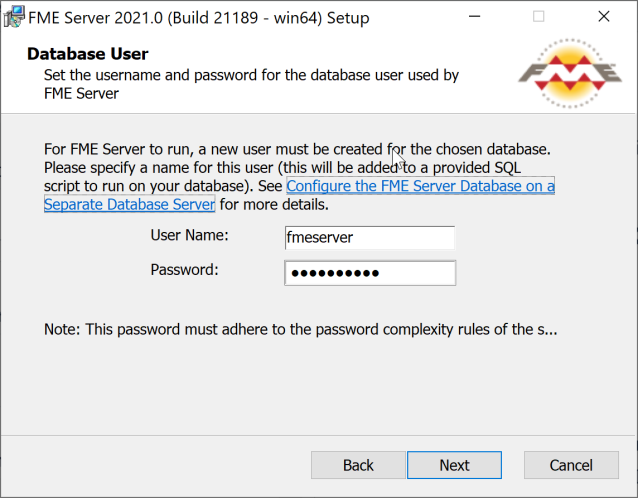
Database User
The installation creates a user account under which to use the FME Server database. Specify a User Name (defaults to fmeserver) and Password for the database user account.
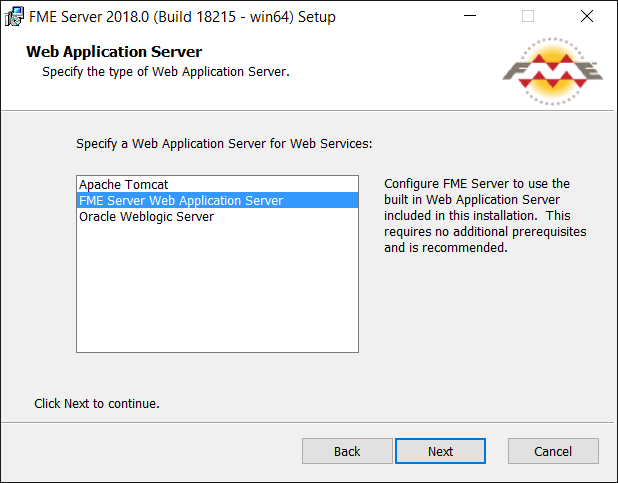
Web Application Server
Specify the FME Server Web Application Server.
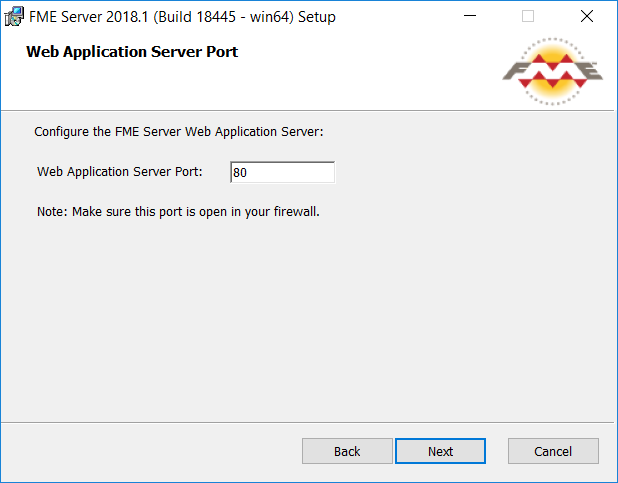
Web Application Server Port
Specify the port to use for communication with the Web Application Server. On Windows, port 80 is the recommended default. If this port is in use, port 8080 is recommended. On Linux, port 8080 is recommended.
Follow the remaining dialogs to complete the installation.
What's Next?