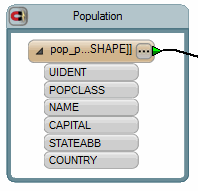
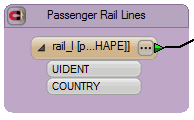
Selecting an area of the workspace (for example, a group of transformers) before adding the bookmark ensures that the bookmark appears in the selected area.
Click the bookmark tool ![]() or select Insert > Bookmark.
or select Insert > Bookmark.
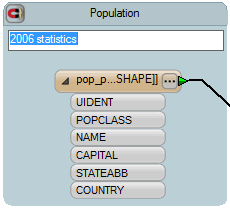
A bookmark will appear in the workspace. The text field in the bookmark will be highlighted so you can enter a new name as soon as the bookmark appears. (Note that if the characters in your name exceed the width of the bookmark, the name will be truncated).

You can create bookmarks so that they have a filled background. Choose Tools > FME Options > Workbench and check the box Draw bookmarks with a filled background.

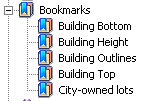
All bookmarks are added as a list in the Navigator:

Left-click the bookmark, hold down the mouse button, and drag the bookmark's handles.
By default, the bookmark's contents are attached to the bookmark. When you move it around, the contents follow. This makes it a useful tool for organizing workspaces: you can move entire sections around the canvas until they are in a good layout.
Click the magnet to toggle it on and off.
Magnet is on (contents are attached): 
Magnet is off (contents are separate): 
Left-click on the bookmark's border and hold down the mouse button to move the bookmark to another location on the workspace.
Double-click on the colored area of the bookmark's title bar to display the Edit dialog (or select a bookmark, then right-click and choose Properties). The Edit dialog allows you to change the bookmark name and its color properties.
To rename a bookmark, double-click a bookmark name in the workspace.

To zoom to a selected bookmark:
To center the workspace on a selected bookmark:
The objects that were inside the bookmark appear in a custom transformer window, under a new tab. The bookmark that was in the original workspace is replaced by a link to the custom transformer.
More about custom transformers