Editing Writer Feature Types
Because a writer feature type is simply a definition of what is to be created (in most cases, it does not yet exist), you can edit a destination feature type in a number of ways that aren’t permitted for source feature types.
See Editing Reader Feature Types
Displaying Feature Type Parameters and Attributes
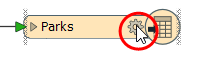
To display the Feature Type dialog, do one of the following:
- Click the gear icon on the feature type.
- Right-click on a feature type and select Properties from the menu.
- On the menu, select View > Windows > Parameter Editor. On the canvas, select the feature type.
Parameters
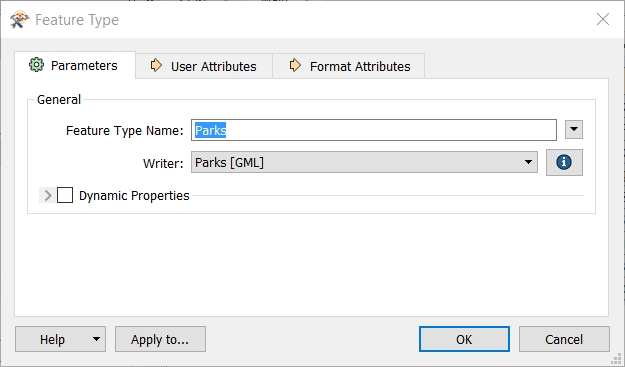
You can rename the feature type by simply clicking in the Feature Type name field and typing a new name.
You can also choose to fanout the feature according to the selected attribute name.
Owner1.Parks.
Changing Geometries
When a destination feature type is automatically created by FME, the destination geometry is assumed to be the same as the source dataset. For example, a source dataset containing line features is assumed to lead to a destination dataset containing line features. However, this is not always the case. Transformers within the workspace may be used to alter feature geometry.
If feature geometry will change during the translation, and the destination format demands a strict definition of allowed geometries (Esri Shapefile datasets require this), then the geometry type can be selected here from a drop-down list. This is not only a desirable quality, but vital too, since not to make such a change would lead to error messages in the subsequent translation.
If you are working with a dynamic workspace, the following additional options are available for some writer formats (such as Esri Shapefile and Esri Mapping Specification for CAD):
- From Schema Definition: Geometry type is derived from the source schema.
- First feature defines geometry type: The first feature to reach the writer is used to set the geometry type.
For many formats, all geometries are automatically allowed – in these cases, the Geometry field is disabled.
Dynamic Properties
Dynamic Properties are used in Dynamic Workspaces.
Other Parameters
Some formats, including most database formats, support additional parameters.
For more information about these parameters, click the Help button to open the applicable format's topic in the FME Readers and Writers help.
User Attributes
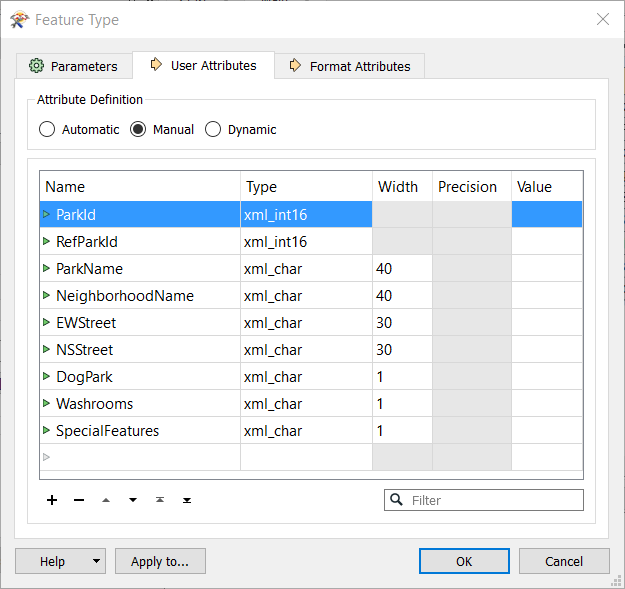
This is a convenient way to alter the schema of a feature type. If a format doesn't allow user attributes, this tab is not present.
On writer feature types, you can easily add, delete, move, rename, sort, and change attributes’ data types. For some data types, you can define a width (that is, the width of the field). For other data types, you can specify a number of decimal places. If a column is grayed out, then you can't set a width or number of decimal places.
Tip: To quickly remove several attributes at once: Ctrl+click to select them, and then press Delete.
Format Attributes
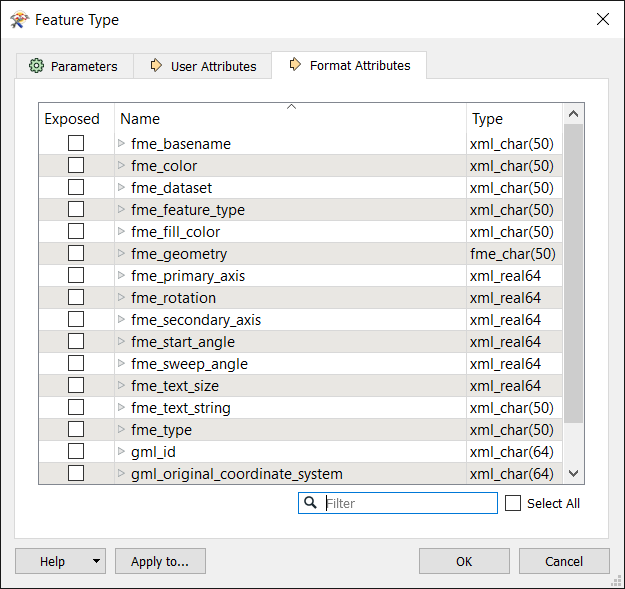
These are built-in FME attributes that you can "expose" or make visible so that you can set them to particular values and connect them to other format-specific attributes. Apply to... exposes the attributes for multiple, selected feature types.
Exposing an attribute on the writer side allows it to be set to a value (for example, you might want to set a pen_width or a line_color to appear in the destination data).
This is key to fully using FME. The special attributes' purposes are described in the Feature Representation section of each reader (input) and writer (output) in the FME Readers and Writers manual (available under the Workbench help menu). These attributes allow a wide variety of special things to be done with formats (like setting line thickness, creating special entities, setting particular bits or bytes).
Applying Changes to Multiple Output Feature Types
- To open the Change Multiple Feature Types dialog, do one of the following:
- In the Feature Type dialog, click Apply To.
- In the Parameter Editor, click the Change Multiple Feature Types icon
 .
. - By default, all output feature types are listed in the Feature Types to Change field. Click the Browse button to check/uncheck feature types from the feature type list that appears (specify a filter to isolate certain feature types). Click OK to close the list box.
- You can also change the dataset, geometry, fanout settings, or choose format attributes to expose for the selected feature types.
- Click OK to close the Change Multiple Feature Types dialog.
- To confirm the changes to all feature types, including the current one, click OK in the Feature Type dialog. You will be asked to confirm any changes to other feature types. Note that if you click Cancel, none of the changes will be applied.